Short circuit of PCB is a very common problem in the production of PCB. There are generally two cases of short circuit, one is that PCB has reached a certain service life. The second situation is that the inspection work in PCB production is not in place. However, these small mistakes in the production of PCB may cause the components to burn out, which will do great harm to the whole PCB board, and may cause scrapping. Therefore, it is very important to check and control it in the production process.
What is Short Circuit on PCB?
PCB open / short test (also known as O / s test) is mainly used to test the connection of electronic devices. Open/short circuit test is to test the open circuit and short circuit. Specifically, it is to test whether an electronic device should be connected. If there is no connection, it is an open circuit. If there is a connection where it should not be connected, it is a short circuit.
What the Common Faults of Short Circuit on PCB?
- According to functionality, short circuit can be divided into:
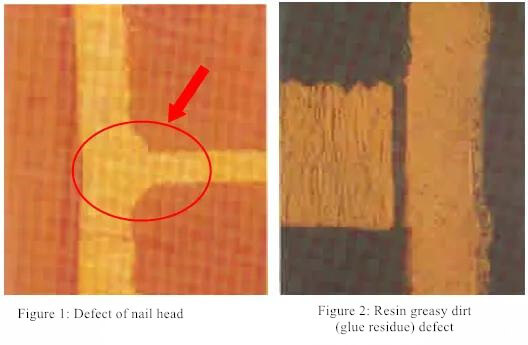
Welding short circuit (e.g. tin connection), PCB short circuit (e.g. residual copper, hole bias, etc.), circuit board inner micro short circuit, device short circuit, assembly short circuit, ESD / EOS breakdown, electrochemical short circuit (e.g. chemical residue, electromigration), short circuit caused by other reasons. - According to the wiring characteristics, short circuit can be classified as:
Line to line short circuit, line to line (layer) short circuit, face to face (layer to layer) short circuit.
How to Check Short Circuit on PCB?
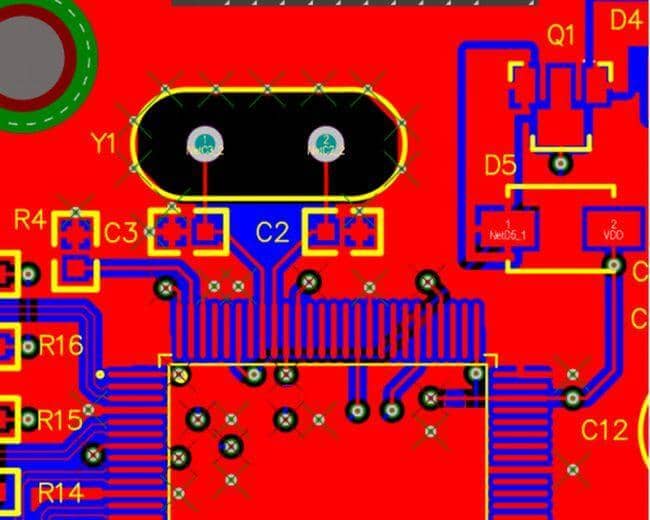
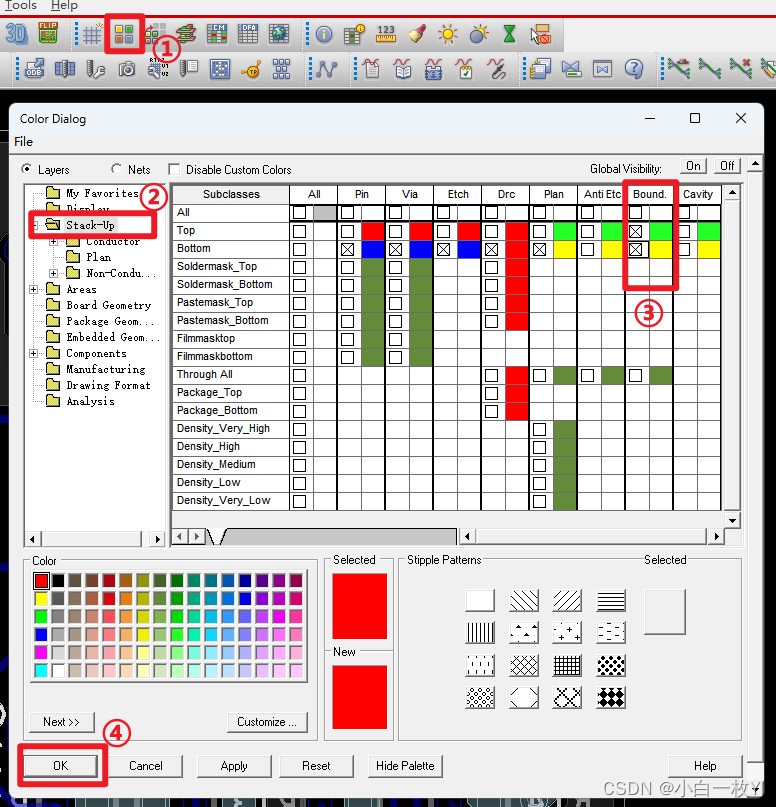
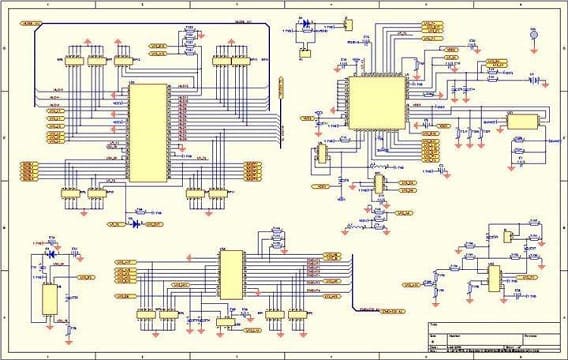
- Open the PCB design drawing on the computer, light up the short-circuit network. Checkthe nearest, whichis the easiest to connect to. Pay special attention to the short circuit inside the IC.
- If it’s manual welding, develop a good habit:
Before welding, visually check the PCB circuit board, and use a multimeter to check whether the key circuit (especially the power supply and ground) is short circuited.Don’t throw the soldering iron when soldering. If you throw the soldering tin on the soldering leg of the chip (especially the surface mounted components), it’s not easy to find it.
Each time a chip is welded, use a multimeter to test whether the power supply and ground are short circuited.
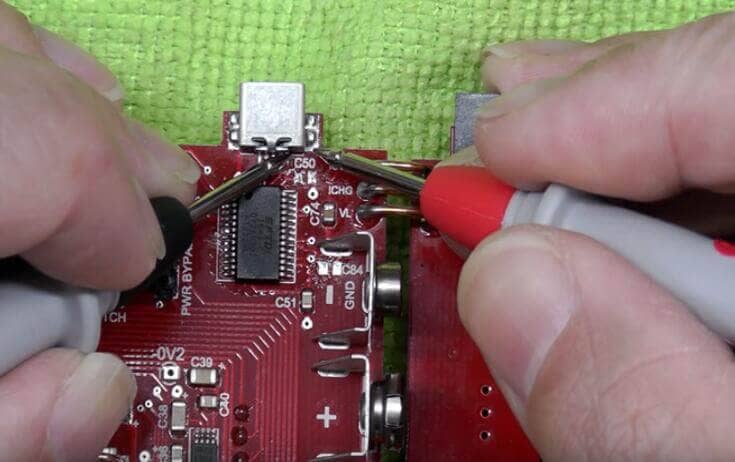
- A short circuit was found. Take a board to cut the line (especially suitable for single / double board). After cutting the line, power on each part of the function block separately and eliminate it gradually.
- Use short circuit location analyzer. Common ones are: Singapore proteqcb2000 short circuit tracker, Hong Kong Smart qt50 short circuit tracker, British polartone ohm950 multi-layer board short circuit detector, etc.
- Check the method of increasing current: low voltage large current, below 5V, 3-5a large current. Generally, the position of heating is short circuit. However, there is a low risk of doing so, and it is generally not used.
- If there is a BGA chip, because all solder joints are covered by the chip and can not be seen, and it is a multilayer board (more than 4 layers), it is best to separate the power supply of each chip and connect it with a magnetic bead or 0 ohm resistance during the design, so that when there is a short circuit between the power supply and the ground, the magnetic bead detection is disconnected, and it is easy to locate a chip. Because the welding of BGA is very difficult, if it is not automatic welding, the adjacent power supply and the two welding balls will be short circuited.
- Be careful when welding small surface mount capacitors, especially the power filter capacitors (103 or 104), which are in large quantity, can easily cause short circuit between power supply and ground. Of course, sometimes bad luck, the capacitor itself is short circuit, so the best way is to test the capacitor before welding.
Related Post: How to Inspect Short Circuit of PCB Board ?

