Whether amateur or professional technician, to learn to build and maintain their own projects and systems, we must understand how PCB works and can repair them in case of PCB failure. So, how to repair PCB? How can I master this skill? What is the benefit of mastering this skill for your career?
Why do electrical engineers need to have a great confidence in their PCB skills? There are many reasons. One important reason for both the novices and amateurs is that it is the first step towards more complex electronic product maintenance.
Why Bother to Master PCB Maintenance Skills?
1. Psychological satisfaction
This is why it is the first very meaningful reason to learn to repair PCB. People who are passionate about electronic products and those who want to use them repeatedly or to the maximum extent will have great psychological satisfaction in the process of finding damaged copper wires, determining the faulty board components, replacing them and restoring PCB.
2. Building and maintaining your own projects and systems is essential
Whether amateur or professional technician, to learn how to build and maintain their own projects and systems, they must understand how PCB works and have the ability to repair PCB problems.
3. Ability to troubleshoot various computers and IOT devices.
Electrical engineers should be proficient in mastering this basic skill. Consumers and business fields can not be separated from a variety of complex electronic equipment, and most of their designs need PCB. Learn how to diagnose circuit board faults, repair or replace the faulty components, and technicians can troubleshoot various computers and IOT devices.
Simple Steps to Repair PCB
The most common PCB faults are usually caused by thermal damage, physical damage and high component voltage.
Although the glass fiber, copper wire and adhesive coating in the circuit board can prevent the accumulation of heat to a certain extent, some PCBs are more prone to delamination and other thermal damage than others.
First, prepare the tools and materials needed to repair the PCB
- Sharp knife or flat head screwdriver or very fine sandpaper
- Copper tape
- Welding gun
- Hot air gun
- Scissors or craft knife
- Pen
- Cotton swabs and alcohol wipes
- Tweezers
- Paper clips
Then repair the damaged PCB according to the following steps to restore its normal function:
Step 1: Remove the damaged pad or component.
First, fix the PCB on the workbench so that it will not move during operation. Tape is best used.
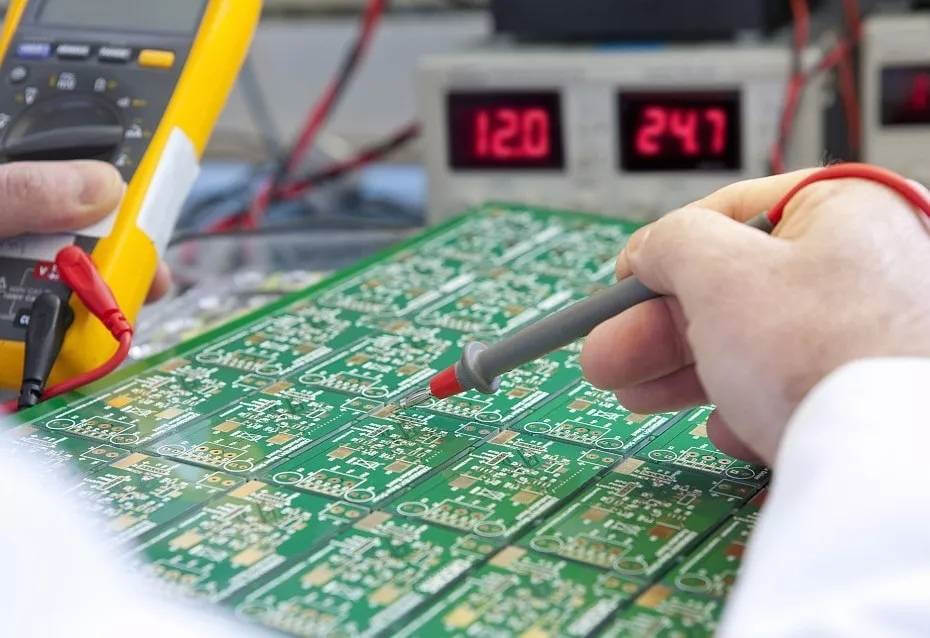
In order to diagnose the damaged PCB, sometimes it is necessary to use an oscilloscope to detect the signal strength and waveform of each point and test the circuit continuity of the whole board. Sometimes it’s just a matter of finding out the burned out area, replacing the faulty component, pad or routing, and reconnecting to the existing copper wire on the PCB.
If you find that a component on the PCB does not work properly, you can remove and replace the component through the following simple steps:
- Pick up the hot air gun and turn on the switch. The hot air gun should be at least 6 inches away from the faulty component.
- After a few seconds, remove the element with tweezers. If it doesn’t come off, heat it up for a few seconds and try again.
If the PCB pad is damaged by heat, it is best to remove it carefully with a sharp knife. Care must be taken not to damage the copper wire and other components nearby when removing the damaged components from the board.
Step 2: Clean the copper wire and remove the solder.
After removing the damaged pad, continue to remove the solder with a sharp knife. If the use of a knife is inconvenient to complete this relatively fine operation, you can also use a pointed screwdriver or sandpaper with fine gravel. No matter which tool is used, the copper wire should be completely exposed in the end. There is no residual solder and it looks clean and shiny.
Step 3: Stick the copper tape on the copper wire.
After removing the damaged copper wire and cleaning the area, the copper tape can be attached to it. The copper tape should overlap with the existing copper wire and cover the existing through hole and part of the surrounding area.
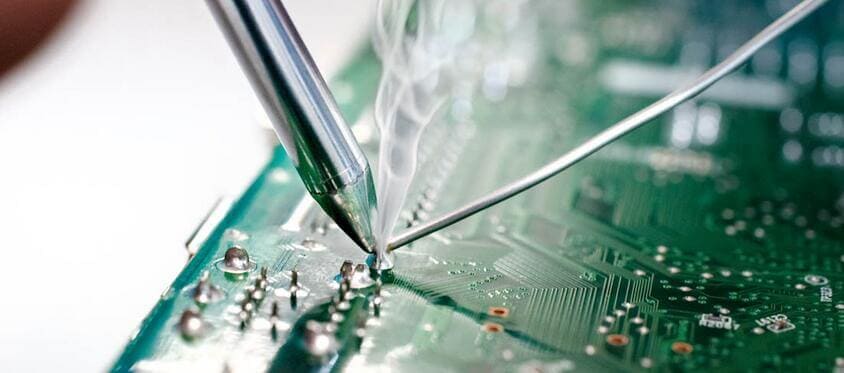
Step 4: Weld the joint.
At this time, it is necessary to carefully weld the joint between the new copper tape and the copper wire of the repaired PCB. Here are some tips and warnings:
The copper tape melts rapidly at the welding temperature, so it must be ensured that the operation can be completed at one time.
Heat as little as possible, and operate cautiously and quickly to reduce the heat applied.
Step 5: Restore PCB via.
Find a hard tool with a round head, such as a pen or other simple tool. Press on the area just finished welding and rub hard to ensure that the copper tape is firmly fixed in the whole pad area. After heating in this area, the tape is still sticky. Using this technique, you can determine the position of the through hole, and then punch it with a paper clip or other similar tool.
Step 6: Put the components in place and weld them.
After completing the above steps, the PCB is repaired and the selected new components can be accepted. Next, we are very familiar with the process of welding components. As before, heat as little as possible. The new solder joint between the new copper tape / pad and the copper wire may not be strong enough.
Step 7: Cut off the excess tape in the repair area.
With scissors or craft knife, carefully cut the copper foil tape into the appropriate size to complete the repair. It must be noted that the newly repaired solder joint may restore the function of PCB, but the pad, copper wire and connector will never be as firm as the previous circuit board.
However, it’s amazing that you give new life to things that other people would throw away as rubbish.
Besides the right tools, what else do you need?
In order to repair PCB successfully, a series of basic soft and hard skills are needed, including excellent hand eye coordination ability, great patience and attention to details.
In the final analysis, the most important thing is practice. It takes time and energy to master the skill of repairing PCB, but once you master this skill, you will be more interested in electronic maintenance and find more opportunities to explore from simple to complex.

